We went to the Letterpress studio and actually hand-set type to print. How are you at reading upside-down and backwards?
Most people did shorter messages than I did, so they didn't have the problem of multiple lines of type. My own fault, I guess. So, so, so.
It took the teacher explaining it to me twice before I understood in what order we were supposed to do the letters. You start with the first line but at the end of it, then you put in your leading, then start at the end of the second line, etc. And you're putting this all together upside-down and backwards. And if that doesn't get your brain all tied up in knots, you are more skilled than I am.
When I was getting close to finished setting my type, I realized I had my camera and could document the experience with photos... sweet.
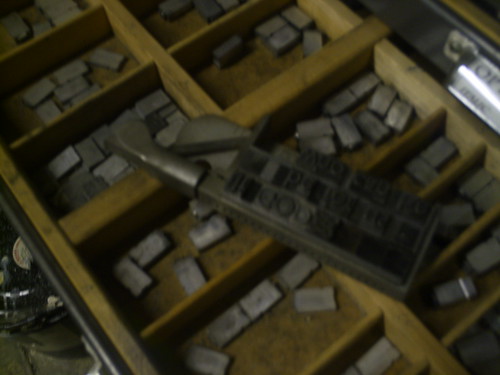
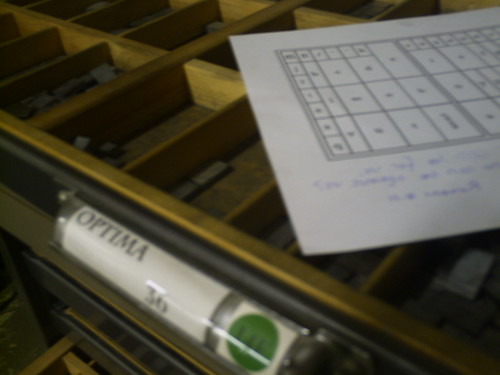
They had lots and lots of drawers, each drawer being a certain font and point size. The font I chose was size 36 optima. We were each given a chart, showing how the letters were arranged in the case (if they had been put back correctly.)
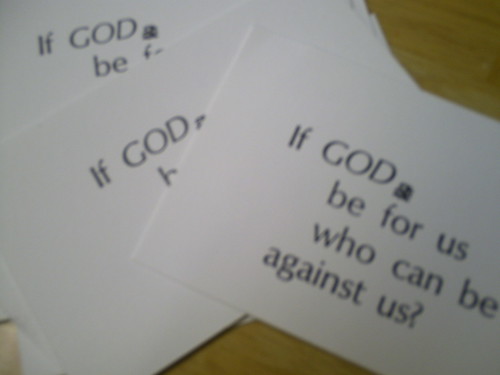
Finally, the whole message was put together. It is a scripture, but after getting all of that on there I hope you'll forgive me if my mind was too tied up in knots to transfer it to a big tray just to do another line upside-down and backwards. So I didn't put the reference on there.
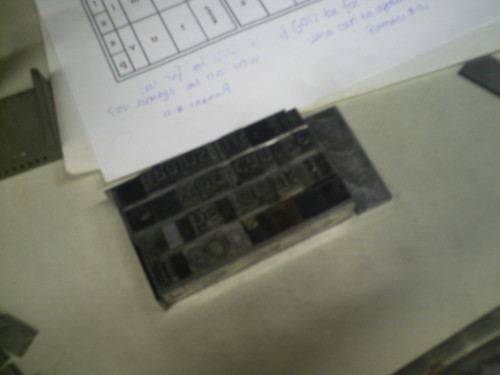
I did a rubbing to make sure I did it right. After doing a rubbing, it is still backwards (but fortunately you can turn it rightside-up... phew). To see it the right way you have to hold it up to the light and look at it the wrong way. Fortunately, I'd done it correctly and didn't need to make any changes.
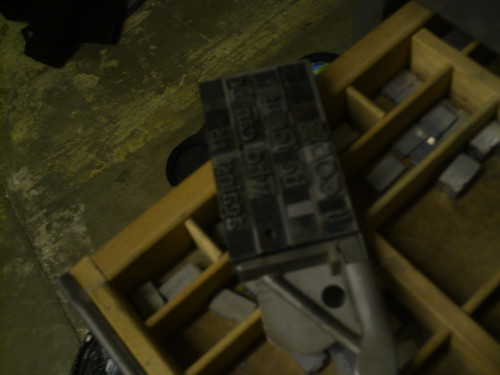
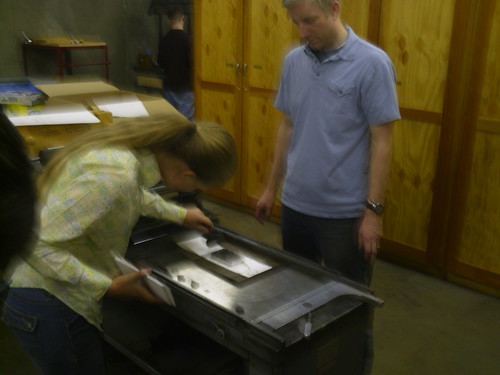
I bring it over the table so I can... well, I dont remember the term for it. You put pieces of lead around each side of the message and get all the letters in snug enough that they don't drop out if you lift it up by the edges, then tie a string around it. More easily said than done. I probably spent more time on this step than any other, but at least it was a straightforward concept (don't let the letters slide out!) rather than an upside-down and backwards one.
I figured out the trick after spending far too long doing this. What you do is get the letters in all snug, then tie a string around it, which won't ever stay as tight as you want when you pull the knot snug. But this doesn't matter, because once you have the knot tied you wedge in a few more pieces of leading on the edges, which pulls it all tight again. Keep that in mind if ever you are setting type. The teacher did comment afterward that my message was the most successful in keeping all the letters from falling out... hooray!
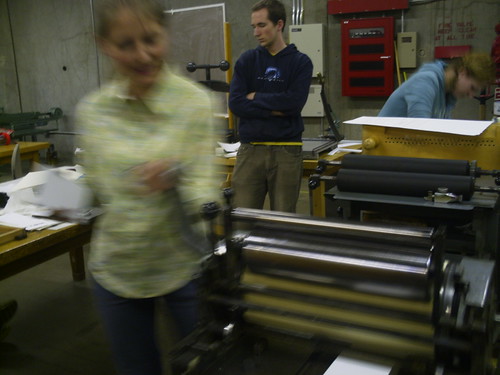
My message was finally ready to print. There was a bit of a line, so I got to watch a few people do theirs before I did mine. Brooke and Tanner had used a really large type face with big letters and they just completely skipped the Tying the Letters Together step, because the letters were big enough that they just stayed down with their own weight. Which was a little frustrating, I'll admit... but I did do it the right way!
I got Brooke to take pictures of me when I printed my message.
I bring my try of letters over, waiting for the previous message to be removed before placing mine on the press.
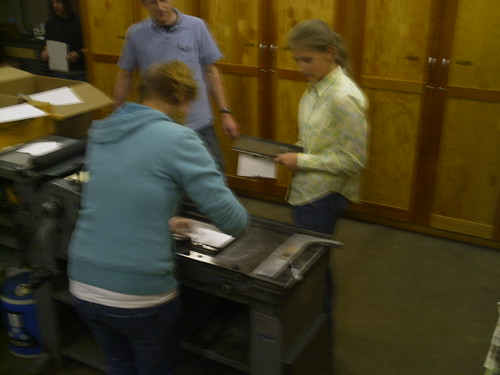
The teacher helps slide my message off the tray and onto the press.

Here it is, on the press.
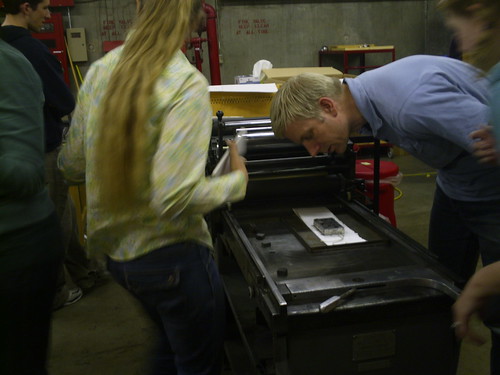
I ink the roller...

Then ink the letters.
The teacher checks to see that I've inked all the letters evenly.
I place a piece of paper over the message...

And crank the roll over it.
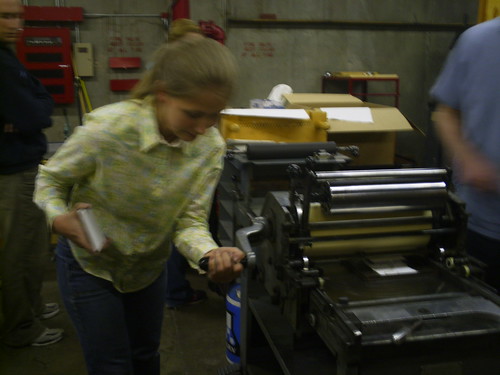
I do this eight times.

So now I have eight copies... ta-da!
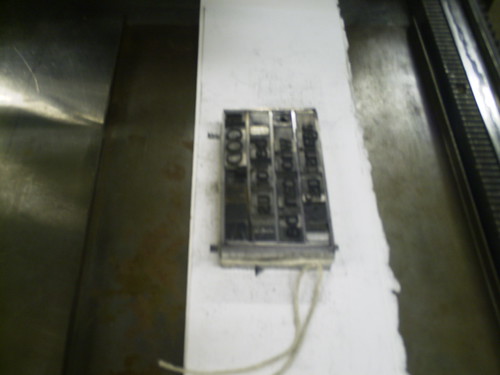
If GOD be for us, who can be against us?
Romans 8:31
That thingy by the D is called a dingbat. Not necessary or even very nice-looking, but I just really wanted to use something called a dingbat. Probably would have looked nicer at the end of the message... ah, well.
2 comments:
Aww cool, I didn't know you had pictures!
Remember in Nauvoo when we saw the printer shop? They had a dingbat there. this is SOOOOO cool. I'm so happy you get to do these grreat BYU things.
Post a Comment